Sometimes, there may be a need to add active cases to inCytes™ for patients who have already been seen and had follow-up visits before using the platform. This could include data from paper questionnaires, notes, or other applications.
The existing cases can be exported in Excel format to be reused in other Circles if needed.
If you don't have a case on inCytes™ that you would like to edit to fit the retrospective case, you should create a new one.
It's recommended that such cases should be filled in with local time being preconfigured on device to match patient's time.
On Windows, it's Settings > Date & Time > Time zone.
On iOS, it's Apple menu > System Preferences, then click Date & Time.
1. Click the Cases menu item in the left navigation menu to open the Case Overview page.
2. Click ADD CASE on the Case Overview Screen.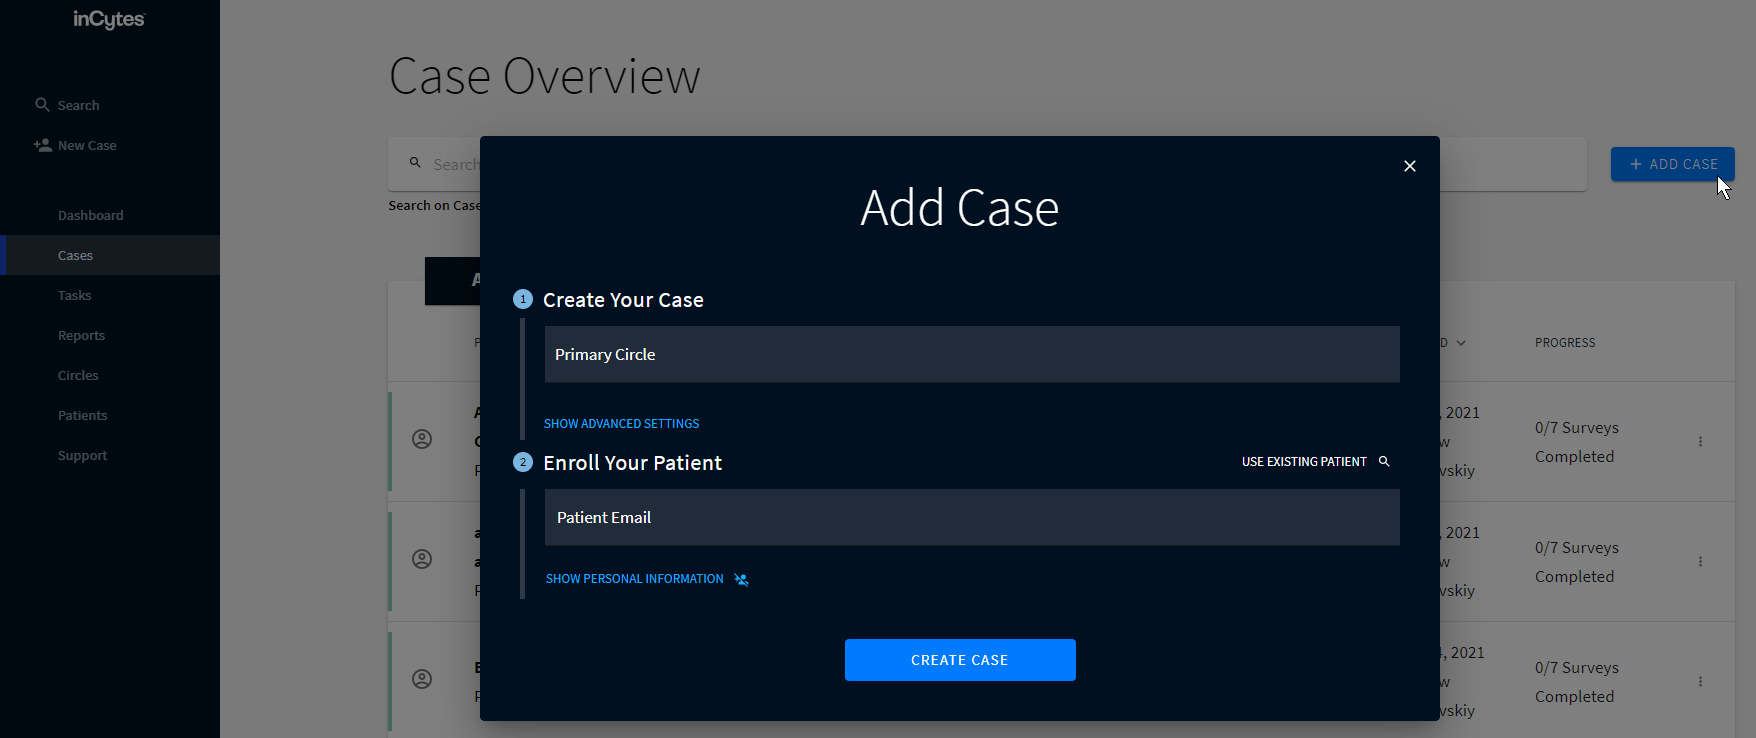 The default view of Add Case modal
3. Click the Primary Circle field and type the Circle name to select the option from the dropdown list (Step 1 on the modal).
4. Click the SHOW ADVANCED SETTINGS label.
Note: every setting except Primary Circle, Send Registration Email, and PI Region could be changed further through the Edit Case function.

5. Change the Case Commencement Date to the needed date (first visit of the patient). You can type the date or make use of the calendar icon.
6. Change the Treatment Date to the date of actual treatment (first procedure if treatment consists of multiple procedures).
7. Disable the Send Registration Email toggle (especially valuable if a patient already has filled in any survey and we don't want a patient to fill in it again).
- If you forget or have no time to resend the invitations, no worries: the patient will have the ability to sign up to the portal when getting the survey reminder email (the email reminding them of the follow-up survey that is due).
Note: if you switched off sending the registration email while creating a case and for some reason changed your mind and want to invite your patient to the portal, you can resend the invitation to them. As soon as the RESEND INVITATION button is pressed, the patient will immediately get the registration email and the email with his first survey (if it’s due).
8. Enable the Edit Survey Completion Date toggle (unlocks the ability to set a completion date for completed surveys from the Case Detail page).
9. PI Region defines the server jurisdiction to store the patient data.
10. (optional) If known, set the preferred patient language using Communication On the dropdown list.
11. Select an existing patient by clicking the Use Existing Patient label, or if new, enter the patient's email address and birthdate.
- You can enter the date either by typing the date or by clicking on the small calendar icon that is on the right of the "Date of Birth" field and selecting the required date.
- Note that the date format is localized according to the user's local settings.
12. Click CREATE CASE once the fields are filled.
13. Click the tab in the Patient Progress on the Case Detail page to open the survey that has previously collected data.
14. Fill in the answers and Save the results.
15. Click the calendar icon on the tab for the completed survey to specify the survey completion date. You can type the date from the keyboard use the date picker to the right.
16. Once all the collected data is entered, we can send a patient invitation manually by clicking a Resend Invitation button in the top right corner of Case Detail page (button will disappear once the patient is registered). Otherwise, the first email is coming once the uncompleted survey that is assigned to the patient becomes due.
Congratulations! You’ve added retrospective case to inCytes™.